Introduction to WordPress E-commerce
In the fast-evolving realm of online WordPress e-commerce, establishing your e-commerce presence is crucial for expanding your customer base and boosting revenue. WordPress, renowned for its adaptability and ease of use, stands out as the ideal platform for crafting an e-commerce website. This guide, brought to you by Digi Emperor, presents a streamlined approach to building a thriving WordPress e-commerce site in six simple steps. From selecting the optimal hosting plan to setting up seamless payment and shipping solutions, empower your online business with our expert insights.
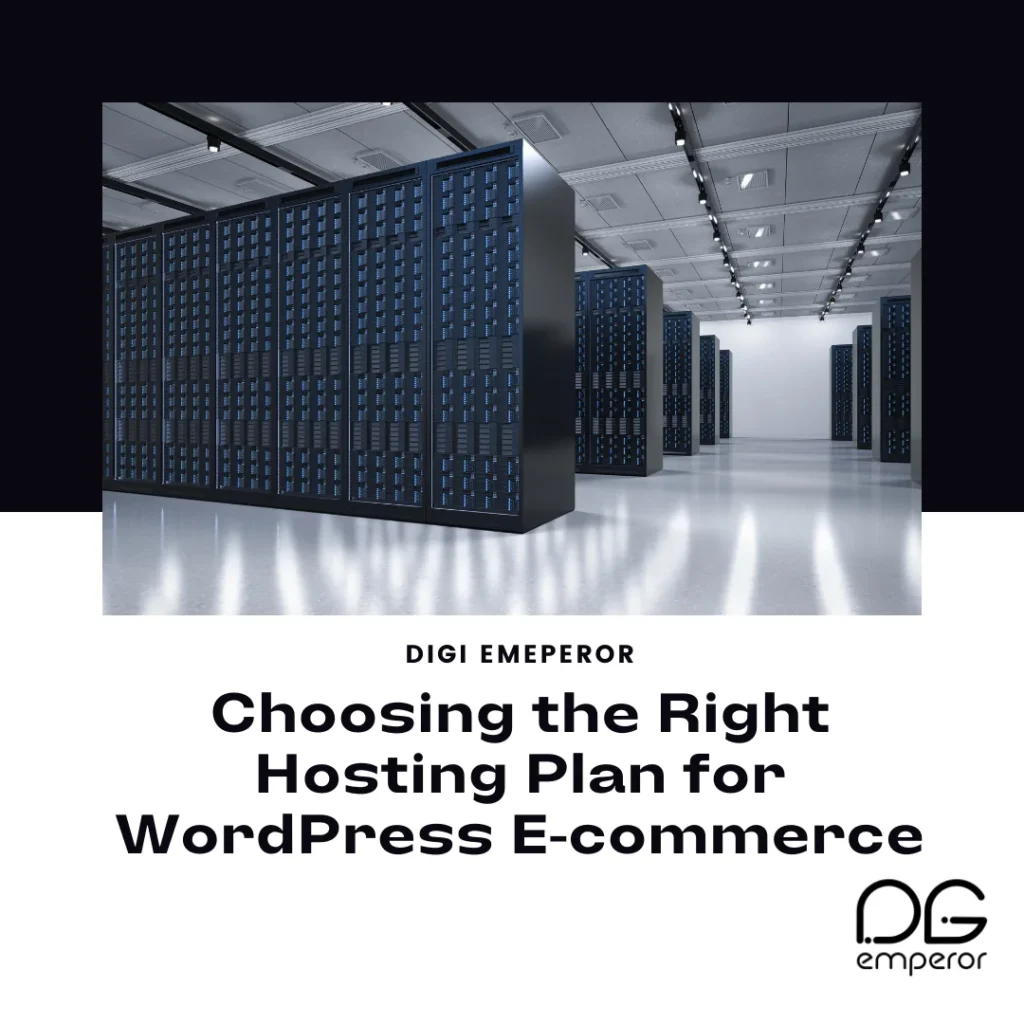
Step 1: Choosing the Right Hosting Plan for WordPress E-commerce
Importance of Good Hosting
Selecting a reliable hosting provider is crucial for the performance and security of your e-commerce site. A good hosting plan ensures fast loading times, minimal downtime, and adequate support, all of which contribute to a positive shopping experience for your customers. Poor hosting can lead to slow site speeds and frequent downtime, driving potential customer reviews away.
Recommended Hosting Providers
For WordPress e-commerce sites, some highly recommended hosting providers include:
Bluehost – Known for its ease of use and excellent customer service.
SiteGround – Offers fast loading speeds and robust security features.
HostGator – Provides affordable plans with reliable performance.
WP Engine – A bit pricier but offers premium features and top-notch support specifically for WordPress sites.
Kinsta – Another premium option known for its speed and excellent support.
Steps to Set Up Hosting
Choose a Plan: Select a hosting plan that suits your needs. For e-commerce sites, it’s advisable to choose plans that offer sufficient storage and bandwidth.
Basic Plan: Suitable for small businesses with limited products.
Plus Plan: Ideal for growing stores with more traffic and products.
Pro Plan: Best for large stores with high traffic and complex needs.
Register a Domain: Choose a domain name that reflects your brand and is easy to remember. Use keywords relevant to your business website to improve SEO.
Set Up Hosting: Follow the hosting provider’s instructions to set up your hosting account and link it to your domain. Typically, this involves logging into your hosting account, navigating to the domain section, and following the steps to link your domain.
Extra Tips on Hosting
Customer Support: Ensure the hosting provider offers 24/7 customer support via multiple channels such as live chat, email marketing, and phone.
Uptime Guarantee: Look for providers with at least a 99.9% uptime guarantee.
Scalability: Choose a provider that allows you to easily upgrade your plan as your store grows.
Step 2: Installing WordPress
One-Click Install vs. Manual Installation
Most hosting providers offer a one-click WordPress installation option, making it easy for beginners. However, you can also opt for manual installation if you prefer more control over the setup process and web hosting.
Setting Up Your WordPress Site
Once WordPress is installed, you’ll need to configure some basic settings:
Site Title and Tagline: Choose a title and tagline that represents your brand. This is the first thing visitors will see, so make it catchy and relevant.
Permalinks: Set up your permalinks for SEO-friendly URLs (Settings > Permalinks > Post name). This helps with search engine rankings and makes your URLs more readable.
General Settings: Configure your site’s language, timezone, and other general settings.
Essential Settings to Configure
Discussion Settings: Manage comments and discussions to keep your site interactive and spam-free. Decide if you want to allow comments on your posts and pages.
Media Settings: Optimize your media settings for better performance. This includes setting maximum dimensions for images to ensure they load quickly without compromising quality.
Reading Settings: Choose how your homepage and blog posts are displayed. You can set a static homepage or display your latest posts.
Extra Settings
Privacy Settings: Set up your site’s privacy policy and make sure it complies with local regulations such as GDPR.
Backup Settings: Implement regular backups to prevent data loss. Use plugins like UpdraftPlus or BackupBuddy to automate this process.
Security Plugins: Install security plugins like Wordfence or Sucuri to protect your site from threats and malware.
Step 3: Selecting and Installing an E-commerce Plugin

Overview of Popular Plugins in WordPress E-commerce
There are several e-commerce plugins available for WordPress, but some of the most popular include:
WooCommerce: The most widely used e-commerce plugin, offering extensive features and flexibility.
Easy Digital Downloads: Ideal for selling digital products.
Shopify: Although not a plugin, it offers integration with WordPress for those who prefer using Shopify’s platform.
BigCommerce: Another robust e-commerce platform that integrates with WordPress.
WP ecommerce website builderssites: An older but still reliable option for smaller stores.
Installing WooCommerce
Install the Plugin: Go to Plugins > Add New and search for WooCommerce. Click ‘Install Now’ and then ‘Activate’.
WooCommerce Setup Wizard: Follow the setup wizard to configure your store’s basic settings, such as location, currency, and payment options. The wizard simplifies the initial setup process and helps you get started quickly.
Basic Configuration of WooCommerce
General Settings: Configure your store’s address, currency, and selling locations.
Products: Set up your product display options and measurements. You can choose to display products in a grid or list format and set default product sorting.
Payments: Choose and configure your payment gateways. WooCommerce supports various payment methods, including PayPal, Stripe, and direct bank transfers.
Shipping: Set up shipping zones and methods. You can offer different shipping rates and methods based on the customer’s location.
Additional WooCommerce Settings
Tax Settings: Configure tax rates based on your region and the regions you sell to.
Accounts & Privacy: Manage customer account settings and privacy options.
Emails: Customize the email templates sent to customers for various actions like order confirmations and password resets.
Advanced Features in WooCommerce
Extensions and Plugins: Enhance WooCommerce functionality with extensions like subscriptions, memberships, and bookings.
SEO Optimization: Use SEO plugins like Yoast SEO to optimize your product pages for search engines.
Analytics and Reporting: Utilize built-in WooCommerce analytics or integrate with Google Analytics to track sales and customer behavior.
Step 4: Choosing a Theme for Your E-commerce Site

Importance of a Good Theme
A well-designed theme enhances the visual appeal and usability of your e-commerce site, which can significantly impact your sales. A responsive theme ensures that your great ecommerce website is on all devices, including desktops, tablets, and smartphones.
Recommended E-commerce Themes
Some highly recommended themes for e-commerce sites include:
Astra: Lightweight and highly customizable, Astra is perfect for e-commerce.
OceanWP: Known for its fast performance and e-commerce compatibility.
Storefront: Developed by WooCommerce, this theme is fully compatible with the WooCommerce plugin.
Divi: A premium theme with a drag-and-drop builder for easy customization.
Flatsome: A popular theme for e-commerce with a built-in page builder and extensive customization options.
Installing and Customizing Your Theme
Install the Theme: Go to Appearance > Themes > Add New and search for your chosen theme. Click ‘Install’ and then ‘Activate’.
Customize Your Theme: Use the WordPress Customizer (Appearance > Customize) to adjust your theme’s settings, including colors, fonts, and layout.
Header and Footer: Customize your header and footer to include your logo, navigation menus, and other important information.
Homepage Layout: Set up your homepage to showcase featured products, categories, and promotional banners.
Typography and Colors: Choose fonts and colors that align with your brand identity.
Extra Theme Customization Tips
Page Builders: Use page builders like Elementor or Beaver Builder to create custom layouts without coding.
Mobile Optimization: Ensure your theme is mobile-friendly and test its appearance on various devices.
Loading Speed: Optimize your theme for fast loading times by minimizing the use of large images and excessive plugins.
Design and Branding Tips
Brand Colors and Logo: Ensure consistency in brand colors and logo placement across your site.
Professional Images: Use high-quality images for your products and banners to create a professional look.
User Experience: design tips with the user in mind. Ensure easy navigation, clear calls to action, and an intuitive layout.
Step 5: Adding Products to Your Store
Creating Product Categories
Organizing your products into categories makes it easier for customers to navigate your store and find what they’re looking for.
Add Categories: Go to Products > Categories and add your desired categories.
Parent and Child Categories: Create parent categories for broad product types and child categories for more specific subcategories.
Assign Products to Categories: When adding a new product, assign it to the relevant category. This helps customers filter products by category and improves their shopping experience.
Adding and Managing Products
Add New Product: Go to Products > Add New.
Product Title and Description: Enter a clear title and detailed description for your product. Highlight the key features and benefits to attract potential buyers.
Product Data: Fill in the product data, including price, SKU, and stock status.
Setting Up Product Details
Prices: Set the regular and sale prices for your products. Offer discounts and promotions to encourage sales.
Descriptions: Write engaging product descriptions that highlight key features and benefits. Use bullet points for easy readability.
Images: Upload high-quality images to showcase your products from different angles. Include zoom functionality for better product inspection.
Managing Inventory and Stock Status
Stock Management: Enable stock management to keep track of your inventory levels automatically.
Low Stock Notifications: Set up notifications to alert you when stock levels are low.
Backorders: Decide if you want to allow backorders for out-of-stock products.
Advanced Product Features
Variable Products: Create products with multiple variations, such as different sizes and colors.
Grouped Products: Group related products together for easy purchasing.
Digital Products: Set up and manage digital downloads if you’re selling digital goods.
Product SEO Tips
Keywords: Use relevant keywords in your product titles and descriptions to improve search engine rankings.
Meta Descriptions: Write compelling meta descriptions to increase click-through rates from search results.
Alt Text: Add descriptive alt text to your product images to enhance SEO and accessibility.
Step 6: Configuring Payment and Shipping Options

Setting Up Payment Gateways
Choosing the right payment gateways is crucial for ensuring smooth and secure transactions. WooCommerce supports various payment gateways, including:
PayPal: Widely used and trusted by customers.
Stripe: Popular for its ease of use and flexibility.
Direct Bank Transfer: Suitable for local transactions.
Cash on Delivery (COD): Ideal for customers who prefer to pay upon receipt of goods.
Amazon Pay: Allows customers to pay using their Amazon account.
Configuring Shipping Options
Shipping Zones: Define the regions you ship to and assign specific shipping methods to each zone.
Domestic Shipping: Set up shipping options for local deliveries.
International Shipping: Configure shipping methods and rates for international customers.
Shipping Methods: Set up different shipping methods, such as flat rate, free shipping, and local pickup.
Flat Rate: Charge a fixed shipping fee regardless of the order size.
Free Shipping: Offer free shipping for orders above a certain amount.
Local Pickup: Allow customers to pick up their orders from your physical products store.
Testing Your Checkout Process
Before launching your site, thoroughly test the checkout process to ensure everything works smoothly. Make test purchases to check if the payment and shipping configurations are functioning correctly.
Test Transactions: Conduct test transactions using different payment methods to ensure they work correctly.
Shipping Calculations: Verify that shipping costs are calculated accurately based on the customer’s location.
Order Confirmation: Ensure that customers receive order confirmation emails with all necessary details.
Optimizing Your Checkout Page
Guest Checkout: Allow customers to checkout without creating an account for a faster and more conversion rate shopping experience.
Auto-Complete Address Fields: Enable auto-complete for address fields to speed up the checkout process.
Security Measures: Implement SSL certificates to encrypt data and ensure secure transactions.
Additional Payment and Shipping Tips
Multiple Payment Options: Offer multiple payment options to cater to different customer preferences.
Real-Time Shipping Rates: Integrate with shipping carriers like USPS, FedEx, or DHL to offer real-time shipping rates.
Tracking Information: Provide customers with tracking information for their orders to enhance the shopping experience.
Advanced Payment and Shipping Features
Subscriptions: Set up subscription-based products for recurring payments.
Memberships: Offer membership plans with exclusive benefits for members.
Dropshipping: Integrate with dropshipping services to sell products without holding inventory.
Ecommerce Website optimization is essential for maximizing your online sales potential. With Digi Emperor expertise, grasp the fundamentals and implement effective strategies to enhance your e-commerce site’s visibility, engage customers, and drive conversions. Stay updated on the latest trends, continuously refine your website for a competitive edge in the digital marketplace.
In summary, mastering Ecommerce Website optimization significantly boosts your online presence. Focus on improving user experience, optimizing product listings, and leveraging digital marketing tactics to increase sales. Regularly monitor performance with analytics tools to ensure your site remains effective and aligned with current market trends.
For more tips from Digi Emperor on maximizing your portfolio’s impact, explore our next blog on Portfolio Website Development strategies. Take your online showcase to the next level today!
FAQ

